Wednesday, March 9, 2011

quick baby gift

1-you can never have too many burp cloths
2-you can never have to many burp cloths
3-did I say there are never enough burp cloths .....CLEAN?
4-a new burp cloth is always nice
So what do you give a mother who already has a few children?
A burp cloth.

Materials:
  • Chinese Prefold 100% Cotton Diapers (this type are the thickest, smoothest and hold shape after washing the best) I order mine on etsy in the supply category.  I usually buy  1 doz at a time for about $25, trust me its worth it.  To have this in your stash is very satisfying when you can put together a little gift set in less than an hour. Keep in mind that embellished burpies can run $15-20 each.
  • assorted scrap fabrics
  • iron on adhesive
  • rickrack remnant
Lets get started:
  1. Pre-wash diapers (you always pre-wash your fabrics RIGHT???)
    • TIP: I like to wash my fabrics and diapers right away when I get them, that way when I put them away they are ready to use.
  2. iron on the adhesive to your scraps, I like to lay my scraps out on the adhesive with the edges touching, then place wax paper over the top, then a pressing cloth before ironing, this way the wax paper will keep the adhesive from sticking to your iron and the cloth will keep the wax off your iron.
  3. cut out triangle shapes, or any other desired shapes, this method is the same for all appliques
  4. place triangles (the flags) on the center column in a wavy pattern
  5. iron with pressing cloth
  6. stitch over the edges of the flags 1/8" from edge
  7. apply the zig-zag by folding under the end and backstitch, then run it along the tops of the flags curving and ensuring you have covered the top of the flags as you sew, fold the end edge as well and back stitch, trip threads....and this project is ready to give!
It is hard to believe that there is actually 8 steps to this little simple projects but it really sews up FAST!


Tuesday, December 21, 2010

last minute stocking stuffers

Made 2 crayon rolls for 2 Dodger lovin brothers for stocking stuffers, fast, easy, and cheap....yet useful! Thats the best part, check out this easy to follow tute.

Friday, November 19, 2010

Modern Meadow Quilt

IT IS DONE! I love the way it turned out and I love that I made something for me! This fabric is so lovely to look at and is so inviting to cuddle up with to read books, and knit away with in my grandpas old chair.  Looking forward to winter with it!

Wednesday, October 20, 2010

Modern Meadow Quilt Top

Just finished a quilt top for a lap quilt for Fall.
Now that I am looking at it all together I am seeing I could have turned a few rows so matching fabrics were more spread out , but this is one of those projects I just want to finish, you know what I mean?
I have 2 quilts and 3 wall hanging to machine quilt and just want to get to it!
I bought the Joel Dewberry Modern Meadow set in Sunny Day  from Hawthorn Threads and could not wait to dive in. My photo does not do the colors justice, when it is quilted I will take a better picture outside!

Monday, September 27, 2010

pillowcase love....

new photos:


I have made 6 pillowcases recently and have become very fond of making them...when I am not rushing and making foolish mistakes like pulling too hard when seam ripping and ripping the fabric instead of the thread....UGGGG, this is when I put the fabric down and walk away from the machine,  Well I picked it up again today to finish a gift.  My pillowcase journey started with this post, then it was changed when I read this tutorial and I ended up making my pillowcases with a comination of the two, I used the french seam idea for the side and bottom but used the "snake roll" as I am calling it for the top and it comes together soooo fast and so profdessional, I am addicted for sure.  Many more to come I hope, I want some for me!


My fabric choice for this set was:
Patricia Brave, Alhambra II
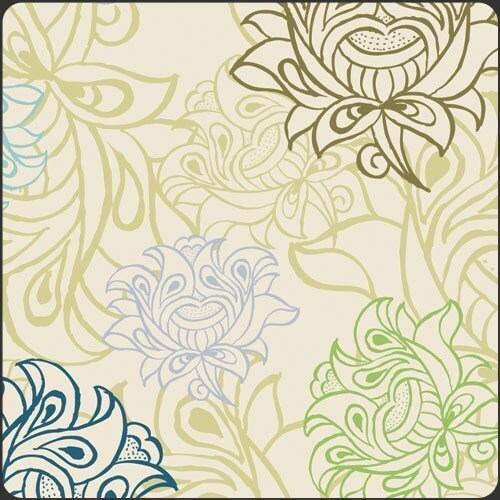
Main case: Arabesque Buds in Ivory
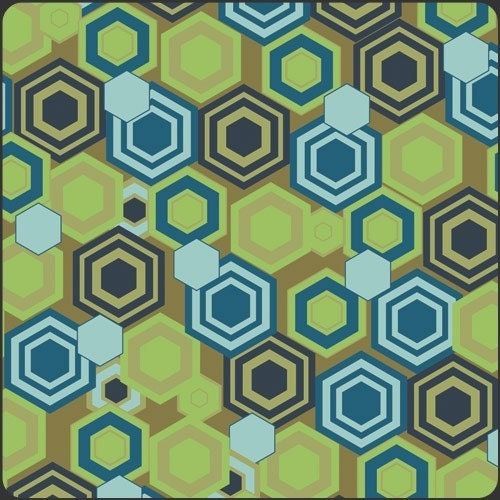
Cuff:: Tile Reflection in Olive
Trim: Mazy Bricks in Teal
Alhambra II Arabesque Buds Ivory by Art Gallery Fabrics - 1 yard
Alhambra II Tile Reflections Olive by Art Gallery Fabrics - 1 yardALHAMBRA II, Mazy Bricks in Teal  by Art Gallery Fabrics, 1 yard

Friday, August 6, 2010

tuttie tute:: two handed oven mit

This two handed oven mit hangs on the oven door ready to use, its pretty, practical, fast  and easy....so whats stopping you from sewing?

step 1. CUT
 2- 8"x24" main fabric (the stripes)
 1- 8"x24" insulbright (heat reflective batting)
4- 8"x8" for pockets (2 for outer 2 for lining)
2- 8"x8" fusible fleece
2- 3"x8" decorative band (dots)
binding I cut my binding 3" wide (you can use store bought but why?)
step 2. CURVE
find a plate and cut your curves


step 3. POCKETS
starting with the bottom layer
lining wrong side up
fusible fleece
outer fabric right side up
(you can fuse in this step if you choose to use fusible fleece any batting works fine)


quilt a pattern or around the fabric design
pin and stitch decorative band right sides together to straight edge of pocket 1/4" seam

press upward
press raw edge to seam and then fold the folded edge of to your stitch line and pin
stitch in the ditch from the front


step 4. quilting

layer the large pieces
outer wrong side up
insulbright
outer right side up

pin and machine quilt


step5.  attach pockets
pin pockets right side out to right side of main
stitch around pocket outer edge

step 6. BINDING
pin binding to BACK all the way around leaving about 4-5" open - stitch 1/4"
bring the left overs to the middle and finger press, pin and pull out to stitch binding seam
trim excess then stitch to mit
that might be confusing so check out molly's sketchbook on where i learned this revolutionary binding process (scroll down to "finish binding ends")

this is how it looks after the binding seam
after stitched down
now press binding to seam and turn to the front
pin and top stitch 1/8"
by stitching the binding to the back it allows you to top stitch on the front so you are sure to catch all the layers, sometimes when top stitching binding on the back side to the front suffers.

hope you get many tasty thing out of the oven with your mit

fabrics I used:
Joel Dewberry Aviary  - Broad Strip in green and Rose Damask in green
to dot is a scrap from an old project I don't know the name sorry :-(

Thursday, July 1, 2010

tuttie tute:girly party gift

I LOVE making kids gifts because:
they are often free and made with scraps
they use up scraps
they are fast
always original
FUN
satisfying
are you convinced of making kids gifts yet?
this is my quickest go to girls purse
I used Amy Butler Lacework /Olive for the outer, Garden Maze/Olive lining and Martini Dot/Blush for the straps and flower. We are going to fill the purse with nail polish and pretty tissue then it will be our gift bag also!

Here are the basics:
2- 13x13 outer and lining
1- 13x13 fusible interfacing
2- 12x1 1/2 for handle
1- 2 3/4x 5 3/4 piece of plastic, cardboard or anthing sturdy for bottom (it wont be seen)
embellishments

1. Cut your outer, lining and interfacing together 13x12 1/2
then fold in half short end to short end and cut out a 1" square at the fold on both sides, this will give you a box bottom
2. Iron on interfacing to wrong side of outer fabric
3. Cut Handle cut 2 pieces, bias tape can be used or you can make your own, ribbon is also nice here.
4. If using your own fabric, fold in half lengthwise and iron
open and fold over 1/4" on each side to incase raw edges, I like to sew 2 rows of stitching 1/8" on both sides
5. Assemble purse
sew side seams on outer 5/8"
sew lining sides seams the same as outer only leave a 2" opening in the middle for turning later
6. Press side seams and stitch bottom seam 1/2" across, this creates the box look
7. Attach handles to top 2" in from side seams
8. Turn lining inside out and push outer into lining to top edges line up and stitch 5/8" seam around
9. Turn through opening in lining side seam, press, top stitch as desired
10. Cut bottom and insert in the lining opening then stitch opening closed, press
The purse is finished and no time to embellish
Fabric Flower:
-rip 2 strips of fabric one aprox. 2x10 and one aprox. 1x8 I just eyeball this for the size of flower I am wanting, and I like to rip the fabric to get frayed edges, they could also be pinked.
-sew a long running stitch on one side of each strip
-pull the thread to gather, as you do this the fabric starts to curl, let the fabric shape itself and once you get ot the desired fullness spiral the gathered ends around and add a needle to the gathering thread and stitch flower middle to secure it, add a button ad pin back or stitch directly to purse.