

Tuesday, December 21, 2010
last minute stocking stuffers

Friday, November 19, 2010
Modern Meadow Quilt

Wednesday, October 20, 2010
Modern Meadow Quilt Top

Now that I am looking at it all together I am seeing I could have turned a few rows so matching fabrics were more spread out , but this is one of those projects I just want to finish, you know what I mean?
I have 2 quilts and 3 wall hanging to machine quilt and just want to get to it!
I bought the Joel Dewberry Modern Meadow set in Sunny Day from Hawthorn Threads and could not wait to dive in. My photo does not do the colors justice, when it is quilted I will take a better picture outside!
Monday, September 27, 2010
pillowcase love....
new photos:


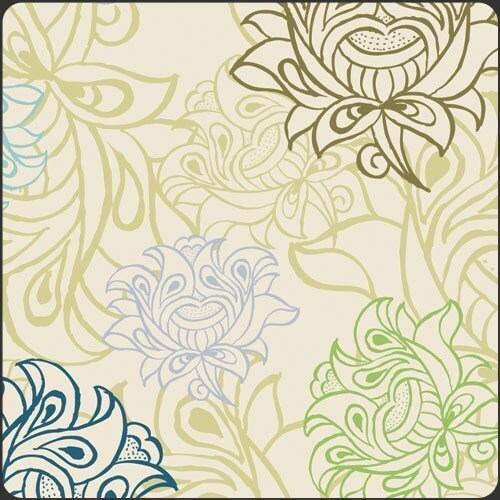
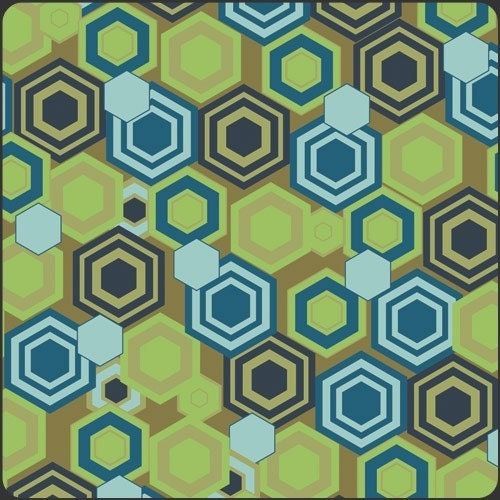
My fabric choice for this set was:
Patricia Brave, Alhambra II
Main case: Arabesque Buds in Ivory
Cuff:: Tile Reflection in Olive
Trim: Mazy Bricks in Teal

Friday, August 6, 2010
tuttie tute:: two handed oven mit
 |
This two handed oven mit hangs on the oven door ready to use, its pretty, practical, fast and easy....so whats stopping you from sewing? 2- 8"x24" main fabric (the stripes) 1- 8"x24" insulbright (heat reflective batting) 4- 8"x8" for pockets (2 for outer 2 for lining) 2- 8"x8" fusible fleece 2- 3"x8" decorative band (dots) binding I cut my binding 3" wide (you can use store bought but why?) |
 |
| step 2. CURVE find a plate and cut your curves   starting with the bottom layer lining wrong side up fusible fleece outer fabric right side up (you can fuse in this step if you choose to use fusible fleece any batting works fine)       step 4. quilting  outer wrong side up insulbright outer right side up pin and machine quilt step5. attach pockets  stitch around pocket outer edge step 6. BINDING  bring the left overs to the middle and finger press, pin and pull out to stitch binding seam trim excess then stitch to mit that might be confusing so check out molly's sketchbook on where i learned this revolutionary binding process (scroll down to "finish binding ends") this is how it looks after the binding seam  after stitched down   by stitching the binding to the back it allows you to top stitch on the front so you are sure to catch all the layers, sometimes when top stitching binding on the back side to the front suffers. hope you get many tasty thing out of the oven with your mit fabrics I used: Joel Dewberry Aviary - Broad Strip in green and Rose Damask in green to dot is a scrap from an old project I don't know the name sorry :-( |
Thursday, July 1, 2010
tuttie tute:girly party gift

I LOVE making kids gifts because:
they are often free and made with scraps
they use up scraps
they are fast
always original
FUN
satisfying
are you convinced of making kids gifts yet?

this is my quickest go to girls purse
I used Amy Butler Lacework /Olive for the outer, Garden Maze/Olive lining and Martini Dot/Blush for the straps and flower. We are going to fill the purse with nail polish and pretty tissue then it will be our gift bag also!
Here are the basics:
2- 13x13 outer and lining
1- 13x13 fusible interfacing
2- 12x1 1/2 for handle
1- 2 3/4x 5 3/4 piece of plastic, cardboard or anthing sturdy for bottom (it wont be seen)
embellishments
1. Cut your outer, lining and interfacing together 13x12 1/2
then fold in half short end to short end and cut out a 1" square at the fold on both sides, this will give you a box bottom
2. Iron on interfacing to wrong side of outer fabric
3. Cut Handle cut 2 pieces, bias tape can be used or you can make your own, ribbon is also nice here.
4. If using your own fabric, fold in half lengthwise and iron
open and fold over 1/4" on each side to incase raw edges, I like to sew 2 rows of stitching 1/8" on both sides
5. Assemble purse
sew side seams on outer 5/8"
sew lining sides seams the same as outer only leave a 2" opening in the middle for turning later
6. Press side seams and stitch bottom seam 1/2" across, this creates the box look
7. Attach handles to top 2" in from side seams
8. Turn lining inside out and push outer into lining to top edges line up and stitch 5/8" seam around
9. Turn through opening in lining side seam, press, top stitch as desired
10. Cut bottom and insert in the lining opening then stitch opening closed, press
The purse is finished and no time to embellish
Fabric Flower:
-rip 2 strips of fabric one aprox. 2x10 and one aprox. 1x8 I just eyeball this for the size of flower I am wanting, and I like to rip the fabric to get frayed edges, they could also be pinked.
-sew a long running stitch on one side of each strip
-pull the thread to gather, as you do this the fabric starts to curl, let the fabric shape itself and once you get ot the desired fullness spiral the gathered ends around and add a needle to the gathering thread and stitch flower middle to secure it, add a button ad pin back or stitch directly to purse.
Wednesday, May 5, 2010
quick mother's day gifts

do I have to go to the store to make it and do I have the time?
I know this blog is about sewing but I also LOVE to crochet
so I had all of the supplies to whip up this nice set of body scrubs
here is what to do:
to crochet a little scrubbie:
use a small hook about H or so any size will do
cotton yarn or whatever you have, I used peaches n cream its nice and soft
chain 4 and join with slip stitch
in circle DC 17, join
2 SC in each DC around, finish off
repeat for a second piece but dont finish off
hold the two discs together and SC through both loops joining the 2 discs together, ch3 continue around
I made a loop on some:
2 strands SC 10 and fasten
or
2 strands SC10 and fasten at 2 points for a little holder
Body Scrub:
Lidded Glass Jar
2 cups epsom salt
1 cup carrier oil (I had olive oil)
8 drops essential oil (I used lavender)
food coloring
drop essential oil in the carrier oil and stir into salt, then add a little coloring and stir until color is even makes 2 cups, press into jars and decorate.
We made a personalized label and added some fresh lavender to top it off for a nice presentation
Subscribe to:
Posts (Atom)